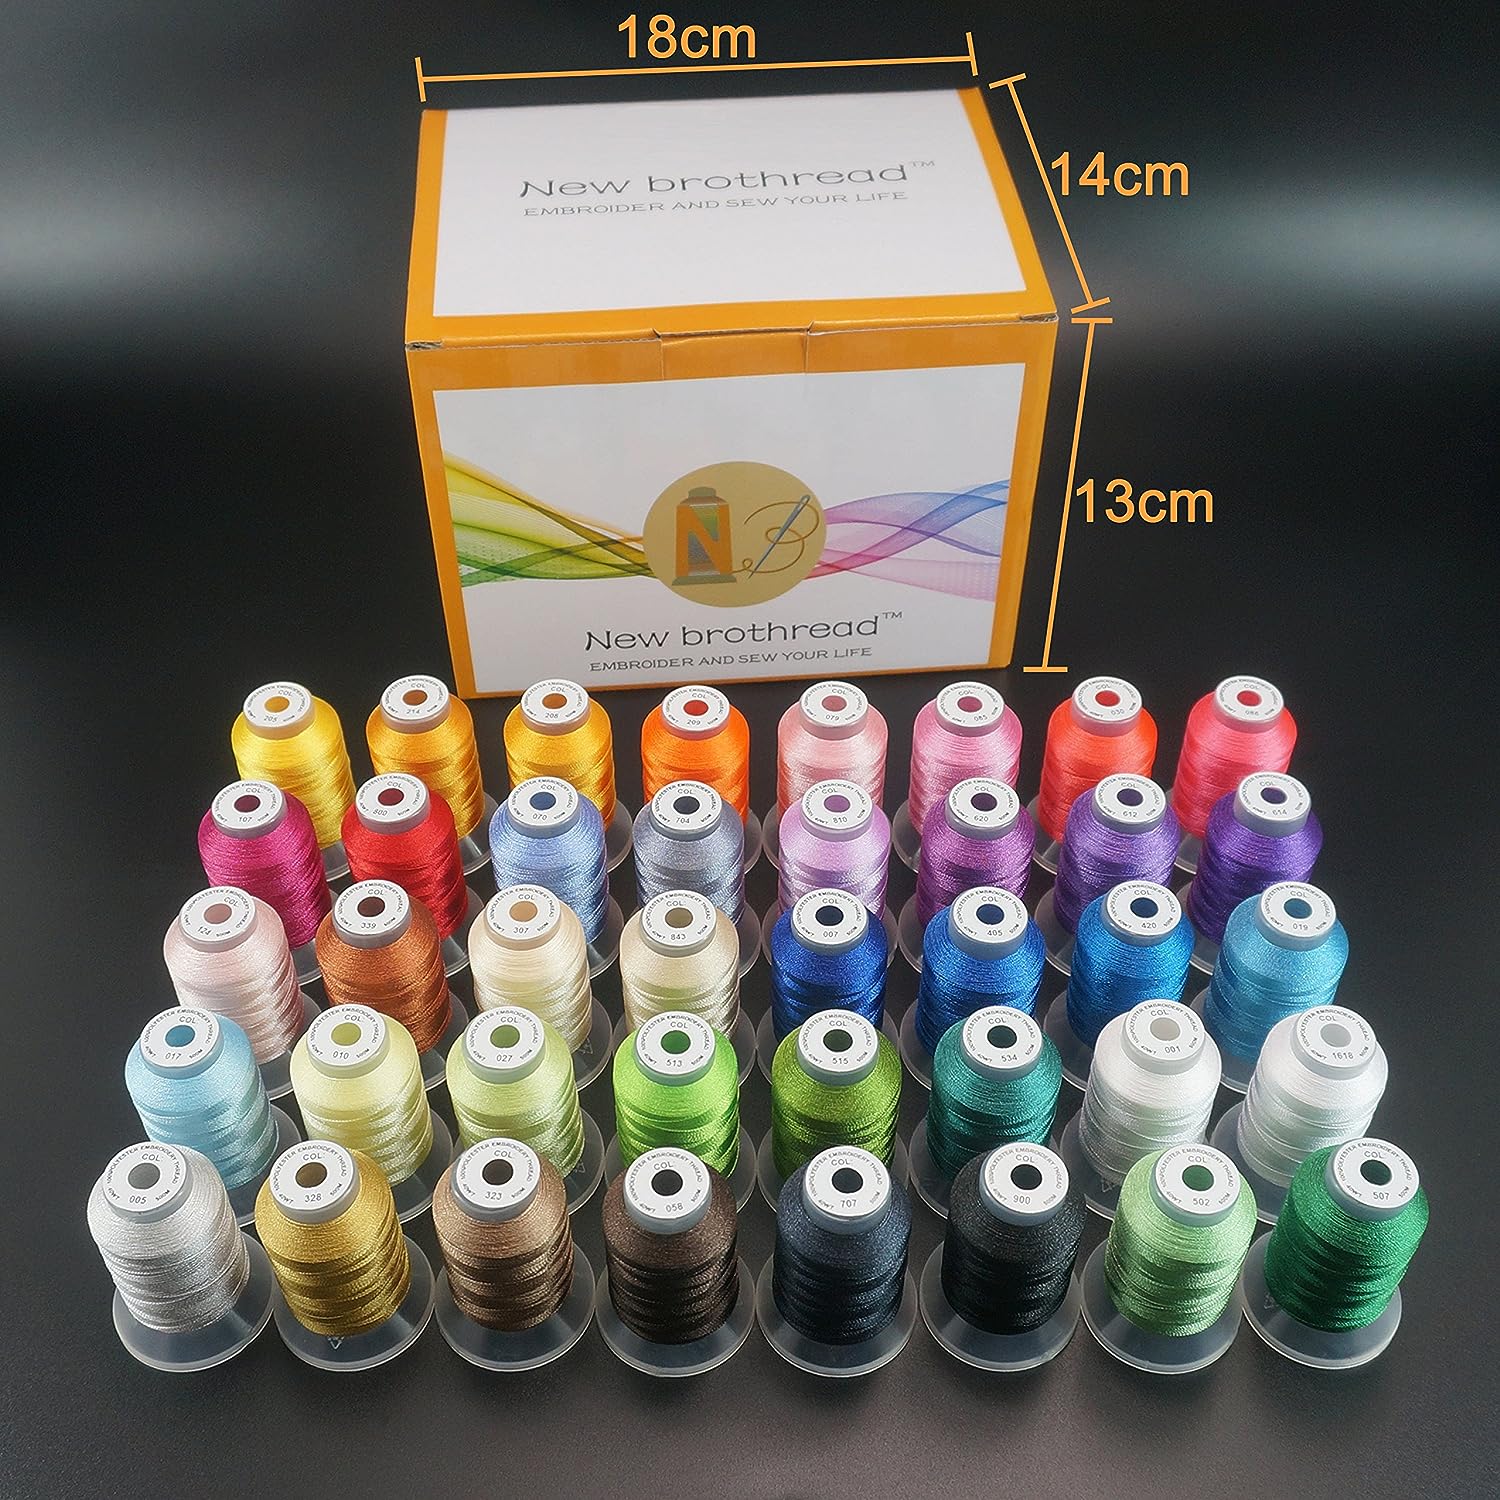
• Effective use of embroidery floss, bobbin thread, and embroidery stabilizer backing on commercial embroidery machines is critical to achieving high-quality and professional-looking embroidery designs. Our co-brand Newbrothread has given us many valuable opinions on the production and use of accessories.

    The following step-by-step guides will help you get the most out of these materials:

  • Prepare:
    1. Choose the right design: Choose a design that suits the fabric and the capabilities of your embroidery machine. Complex designs may require different types of stabilizers and bottom lines.
    2. Tighten: Tighten the fabric and stabilizer properly together. The fabric should be taut but not stretched, and the stabilizers should be sized appropriately to support the design.

Embroidery thread:

1. High-quality thread: Always use high-quality embroidery thread to avoid fraying, breakage, and inconsistent stitching. Polyester or rayon threads are widely used for their durability and vibrant colors. Lower risks of breaking or fraying, Elasticity and Tenacity of polyester also reduce risks of looping and puckering of Polyester Embroidery Machine Thread.

2. Thread tension: Adjust the thread tension setting on the machine to ensure that the upper and lower threads are balanced. Improper tension can cause thread breakage or fabric wrinkling.

3. The color of the thread: replace the thread of different colors in time according to the designed color card. Keeps spools organized and within easy reach.
Bobbin thread:

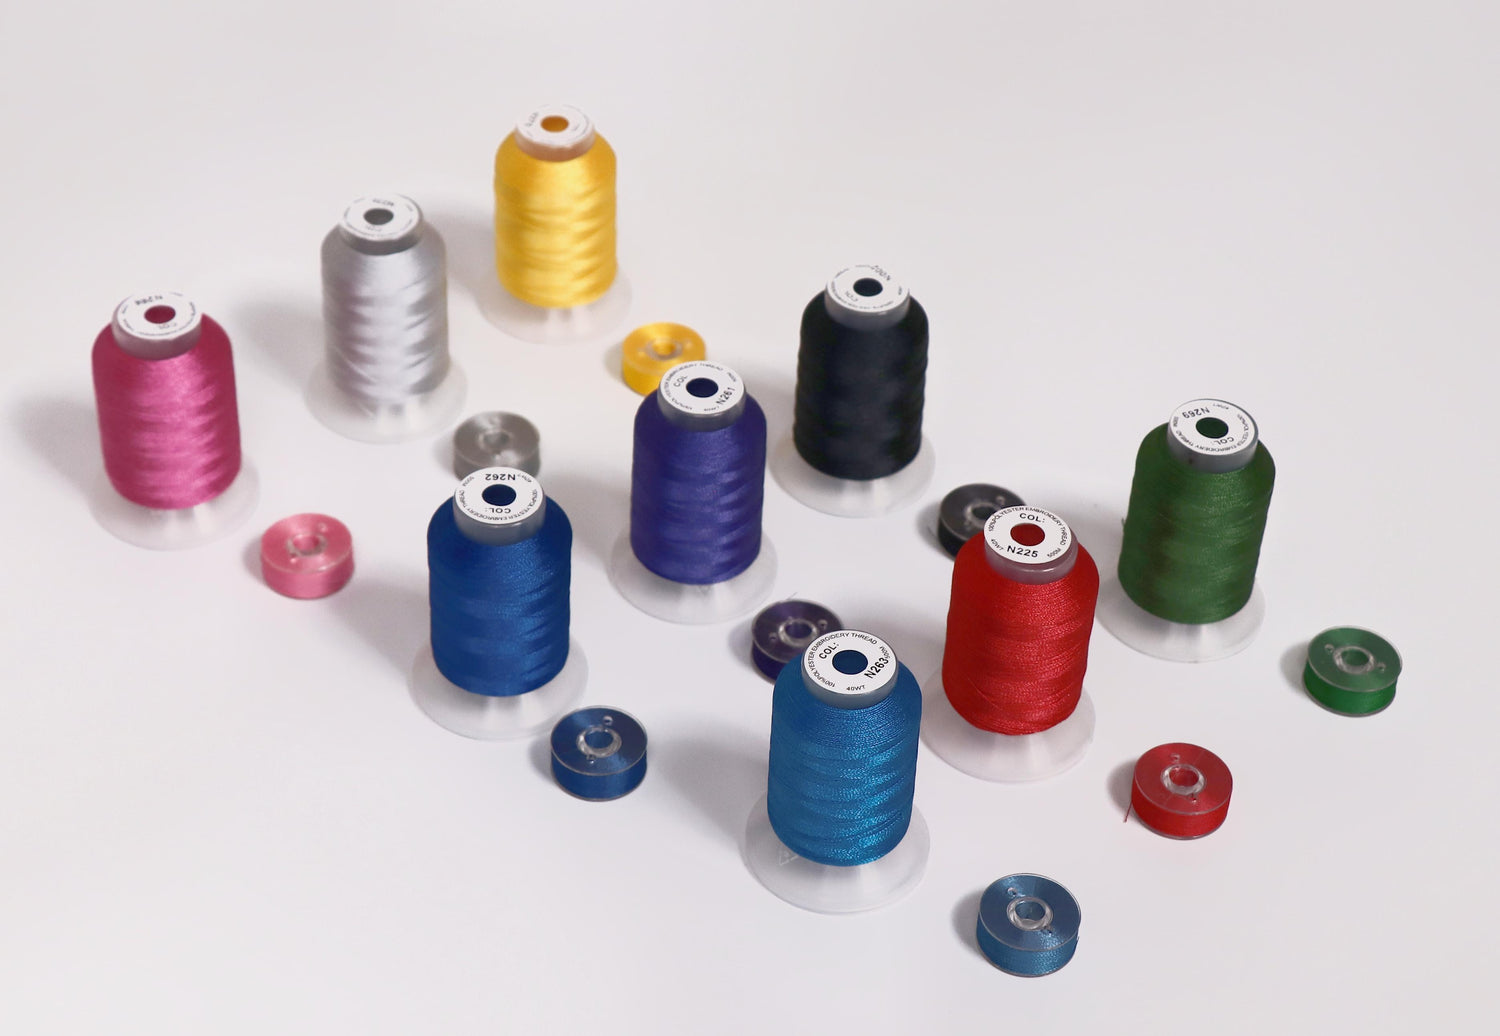
1. Use a lightweight bobbin thread: Most commercial embroidery machines require a thinner, lighter bobbin thread. This reduces bulk and ensures that the back of the embroidery remains smooth.

2. Bobbin tension: adjust the tension of the bobbin to balance the upper thread and the lower thread. Due to the thinner thread used in the bobbin, the tension may differ from normal sewing settings.
Embroidered Stabilizing Backing:

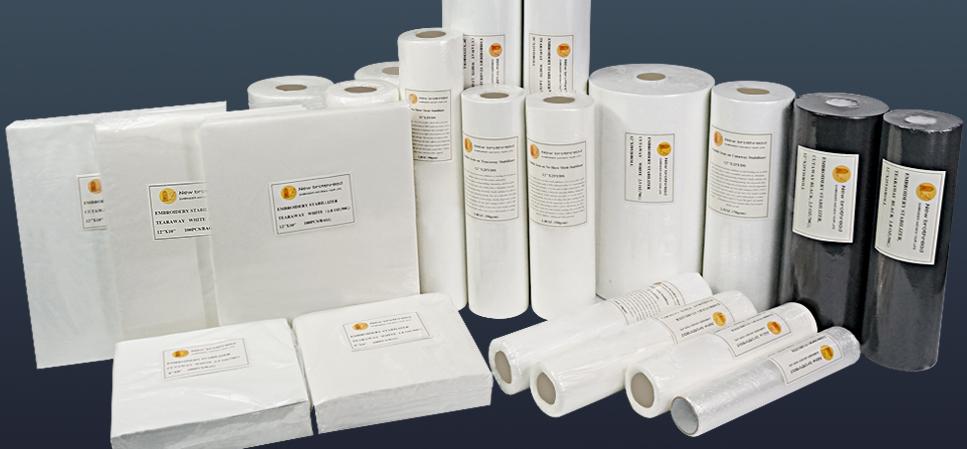
1. Choose the right stabilizer: There are many types of stabilizers, such as cutaway, tearaway, and washaway. Choice depends on fabric, design complexity and desired end result.

2. Hoop with Stabilizer: Place the stabilizer under the fabric inside the hoop. This provides extra support and prevents the fabric from wrinkling during embroidery.

3. Use multiple layers if desired: For particularly dense or intricate designs, you can use multiple layers of stabilizer to provide additional stability. Just be careful not to make the fabric too stiff.

  • Embroidery machine settings:

    1. Speed and Stitch Density: Adjust the speed and stitch density settings of the machine according to the design and fabric type. For intricate designs, slower speeds may be required, while denser fabrics may require adjustments to the stitch density. 

    2. Needle selection: Use appropriate needles for different fabrics. For example, use a ballpoint needle for knitted fabrics and a sharpened needle for woven fabrics.


    Test and adjust:

    1. Test on Scrap: Before embroidering on your actual project, test the design on a similar fabric scrap to make sure everything is working as expected.

    2. Make adjustments: If you notice problems such as thread breakage, wrinkling, or misalignment, make any necessary adjustments to machine settings, thread tension, or stabilizer selection.

  • Maintain:

    1. Keep the machine clean: Follow the manufacturer's recommendations for regular cleaning of embroidery machines, replacement of needles, and oiling of moving parts.

    2. Monitor Thread Heights: Keep an eye on thread spool heights and change them as needed to prevent interruptions during embroidery.


    Remember, practice makes perfect. Experimenting with different settings, materials, and techniques will help you become more proficient at using embroidery floss, bobbin thread, and stabilizing backing effectively on a commercial embroidery machine.