

How is a commercial embroidery machine assembled

1. Prepare accessories: Please check whether the accessories you received are complete. If there are any missing accessories, the assembly of the entire machine cannot be completed. The assembly process generally requires various screws, nuts and screwdrivers.
2. Rack Assembly: The process usually starts with assembling the brackets. The assembly of our two embroidery machines is mainly for the support bracket at the bottom, and the key machine parts of the upper part have been assembled for customers before they go out on the market. You only need to assemble the bottom support bracket and then lift the upper part up.
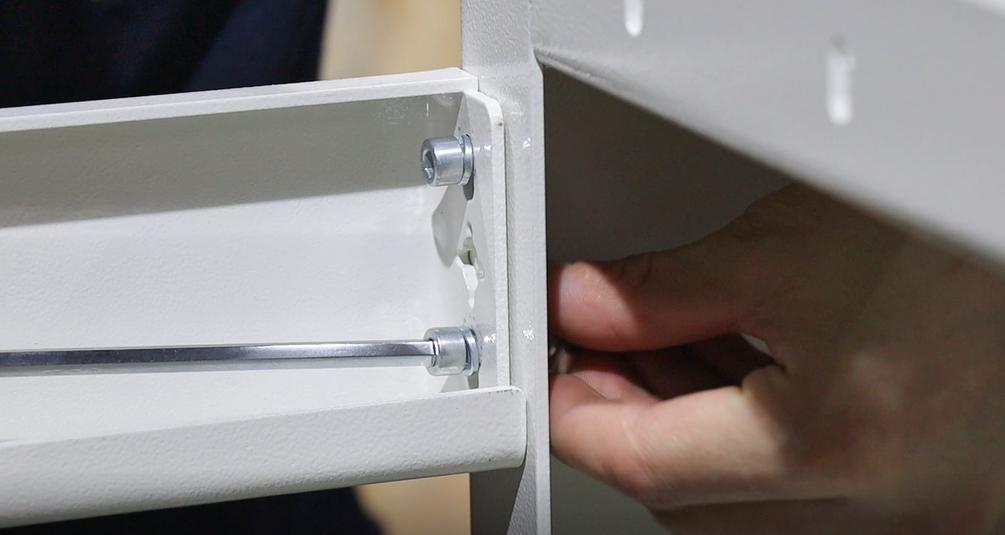
3. Assembling the beam: The vertical brackets on both sides need to be fixed by the horizontal bracket in the middle. There are many holes on the top, so you need to confirm before installing the screws. It will be a very troublesome thing if you make a mistake and start over. There are four beams that need to be fixed.
4. Wrench fixation: After you install the screws, make sure each screw is tightened with a wrench, which ensures the smooth operation of the machine. Avoid any security risks.
5. Install foot supports: The parts of our machines that are in contact with the ground are achieved through foot supports, so customers need to install them after receiving the goods. There are 4 foot supports, customers only need to rotate the screws to the feet of the bracket for fixing, no other complicated operations.
6. Install casters: Our machine can be pushed easily because of the design of casters, which need to be installed after the customer receives it. There are four casters in total, and each caster has four screw holes. Align and tighten carefully.
7. Confirmation of details: After you have installed the foot supports and casters, please confirm whether the casters are higher than the foot supports, only in this way is correct, otherwise the machine will not be able to roll.
8. Lift the upper part: After you install the lower part, you can lift the installed upper part to the bracket and place it. Note that due to the weight of the machine, two adult males are required to lift it safely.